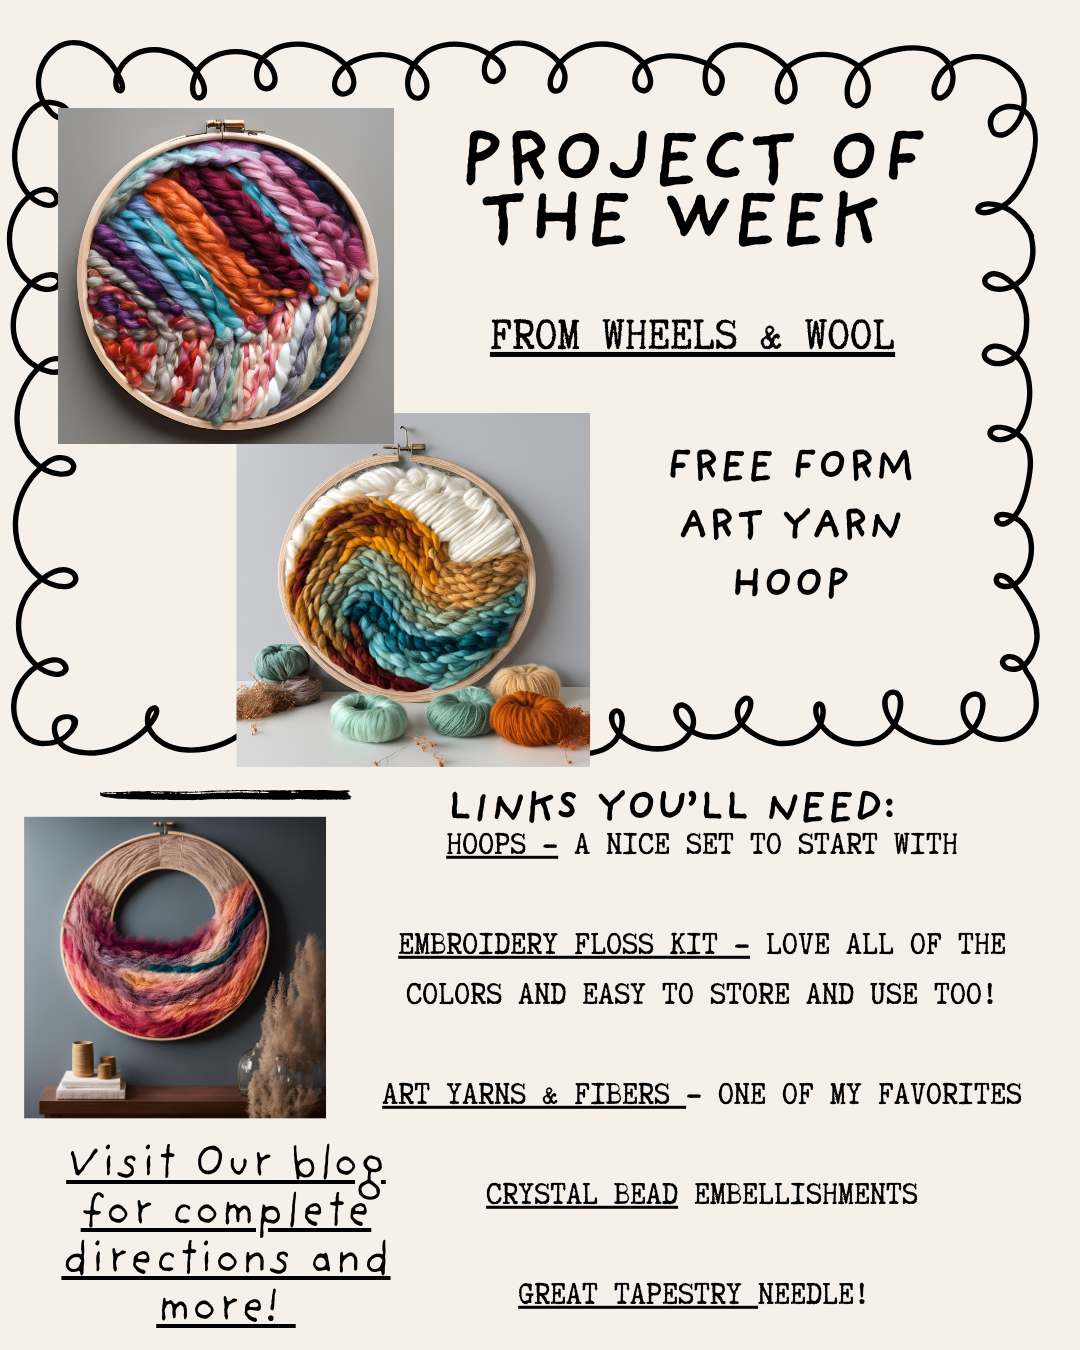
Free Form Art Yarn Hoop
This is just a fun way to display works - this time, I've used a simple frame by using an inexpensive wooden hoop - and then just attached my yarn work …. I used the large needlepoint hoop from Yarn Tree (I have a set of them, so I used one of those). If you don't have a needlepoint hoop, an inexpensive embroidery hoop (10" - 12") works great too! Using a little yarn, tie the hoop to a table or surface, and then just a wrapped yarn - making the hoop frame more stable - and then wrapping a little fun... I used my handspun art yarn (thick / thin / textured)… I like to use a variety of yarns - I will use a lot of handspun art yarn, but other yarns and motifs can be used as well - velvets, muslin strips, ribbons, ric rac, fabric! I also include a little bit of fabric… I wrap the hoop a few times, then just start adding elements on top of it… Some of my favorite elements are:
Some tips:
Be free don't overthink it - Just get going.
You can also use the hoop to hold jewelry or hang other woven pieces.
Make it functional not just pretty - a beautiful way to display small items…
Materials Needed:
Handspun yarn or art yarn
Wooden embroidery hoops in various sizes (10" is perfect)
Scraps of fabric, lace, ribbons, twine
Wire (optional for hanging)
Scissors, glue gun (if needed)
Instructions:
Step 1: Prepare the Hoop — Separate the inner and outer rings of the embroidery hoop. The inner ring is ideal for wrapping with yarn.
Step 2: Wrap the Yarn Around the Hoop — Using handspun yarn, wrap it around the inner ring of the embroidery hoop. Secure each color with a knot or tuck the end under the yarn.
Step 3: Add Decorative Accents — Embellish the hoop by adding beads, charms, and/or ribbons at the top and bottom of the hoop.
Step 4: Hang Small Items or Decor — Use the hoop as a frame to hang or display photos, or use it to hang small trinkets and weaving art.